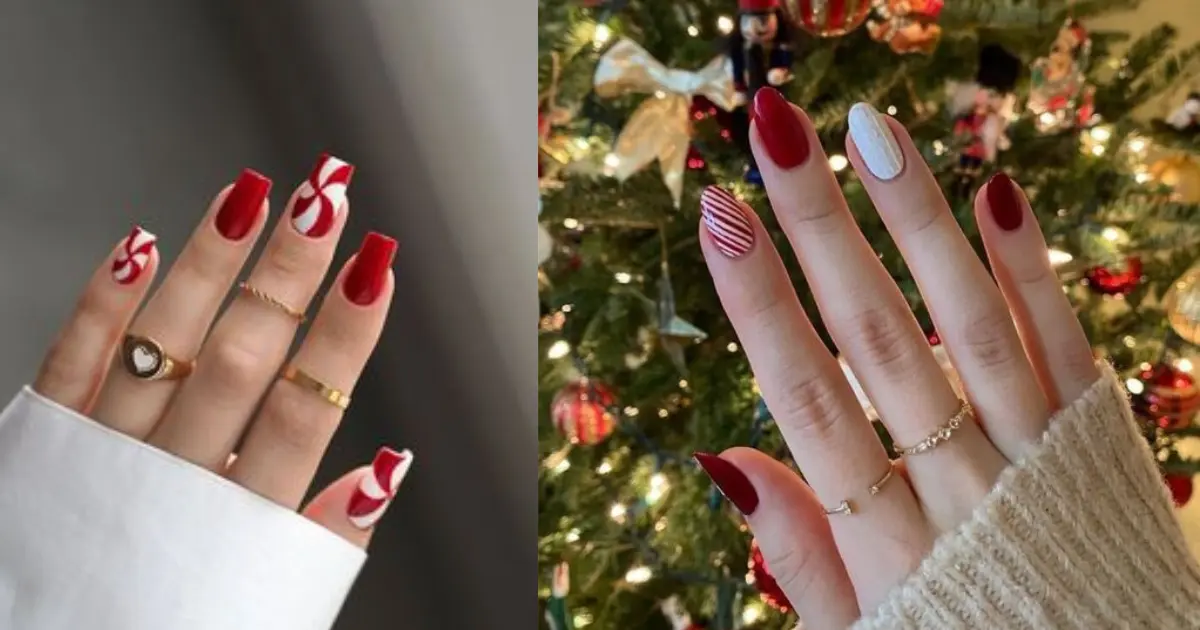
The holiday season is upon us, and what better way to celebrate than to embellish your nails with vibrant colors and patterns? Red and white Christmas nails imply festivity and are a go-to option as they are classic yet versatile. Whether you’re planning to attend a holiday party or count days at home, these basic colors will instantly put you in the holiday spirit. Let’s find out the most popular designs, some tips to help you facilitate the creation of the most accurate design, and answers to the most commonly asked questions to make the most of your holiday nail looks.
Why Choose Red and White for Christmas Nails?
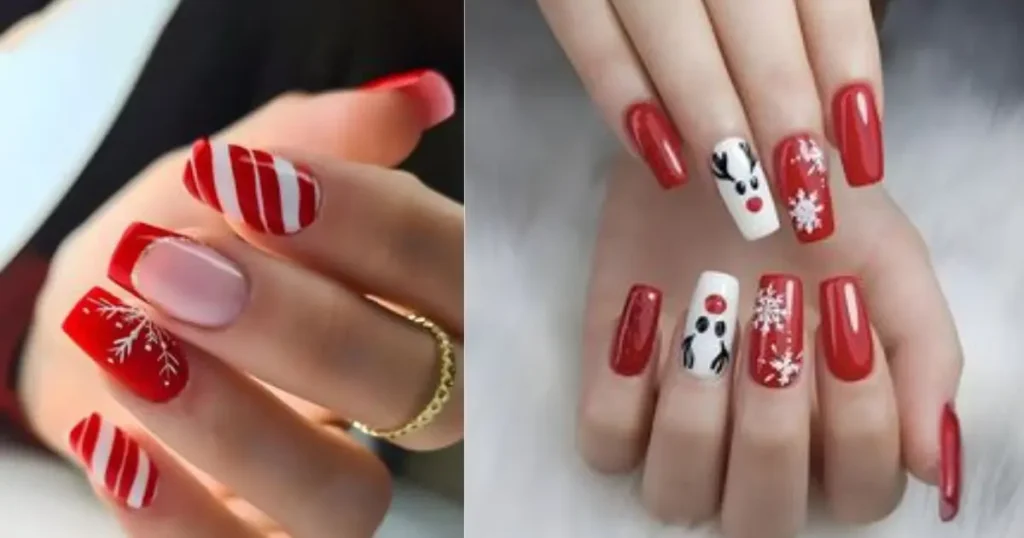
Red and white are generally referred to as the typical holiday colors as they are directly associated with Christmas. Red is often linked to spread joy and the festive aura through presenting and is the color of Santa’s suit or well-decorated trees. White symbolizes snow and is arguably the best representation of the holiday season, while its combination with red presents a fantastic festive contrast.
1. Popular Red and White Christmas Nail Designs:
Classic Candy Cane Stripes

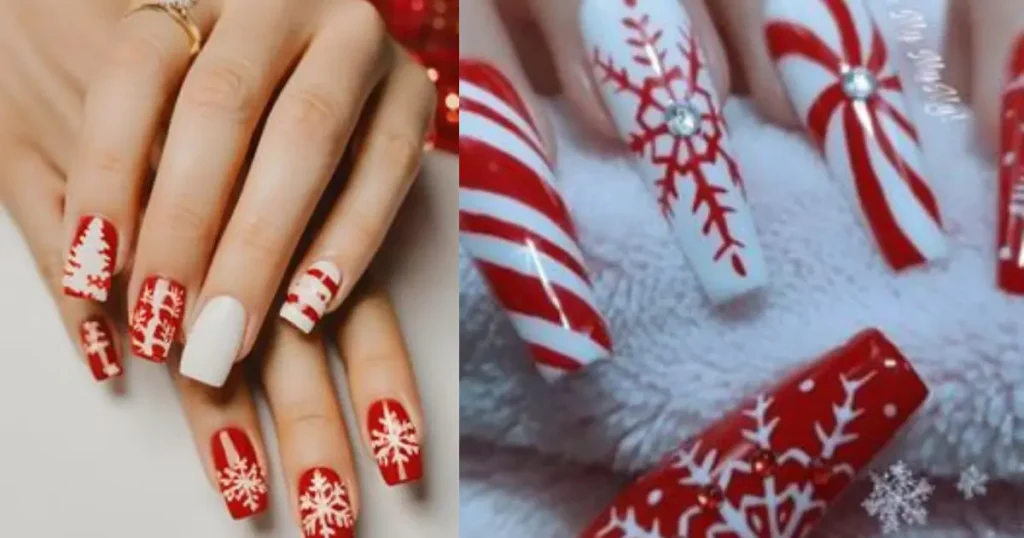
Candy cane stripe nails are one of the most popular holiday designs. The red and white design provides the illusion of a candy cane, which cannot be more festive.
- Start with a clear base coat to prepare your nail and protect it from the effect of polish.
- Apply a coat of red polish to one half of the nail and white to the other half.
- Use a clear tape or a thin brush to separate the colors.
- Finish with a clear top coat to add shine and get necessary protection.
Red and White Snowflakes
Snowflake Nails
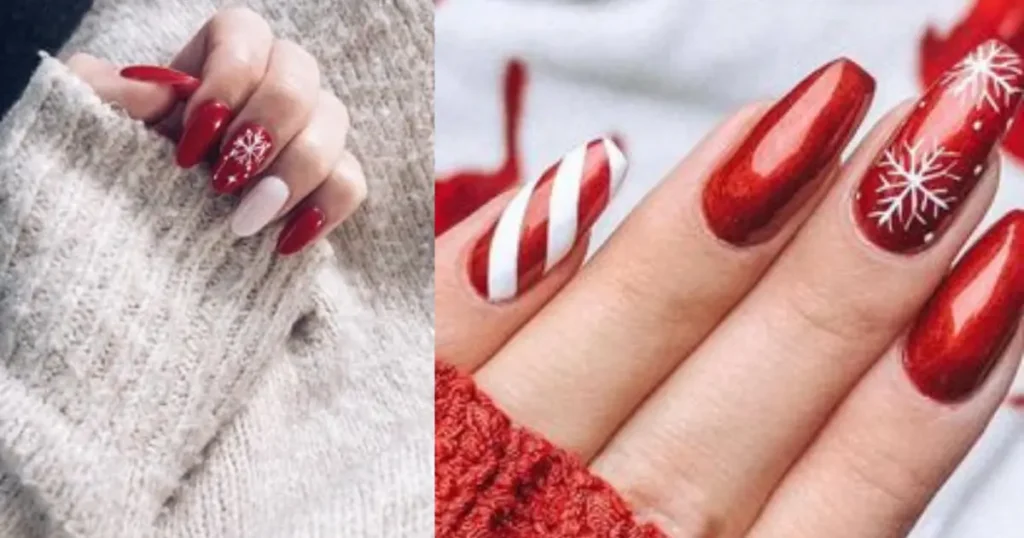
One of the best designs for your Christmas nail is snowflakes. Plus, it is not as hard as it may seem. If you decide to create this design:
- Apply a base coat in white.
- Once the nail is completely dried, start creating the pattern. You can either take a fine brush and draw the snowflake or stamp it with a snowflake stamping plate in a red color.
- When finished, apply a top coat as it will make your design last longer.
Holiday Plaid
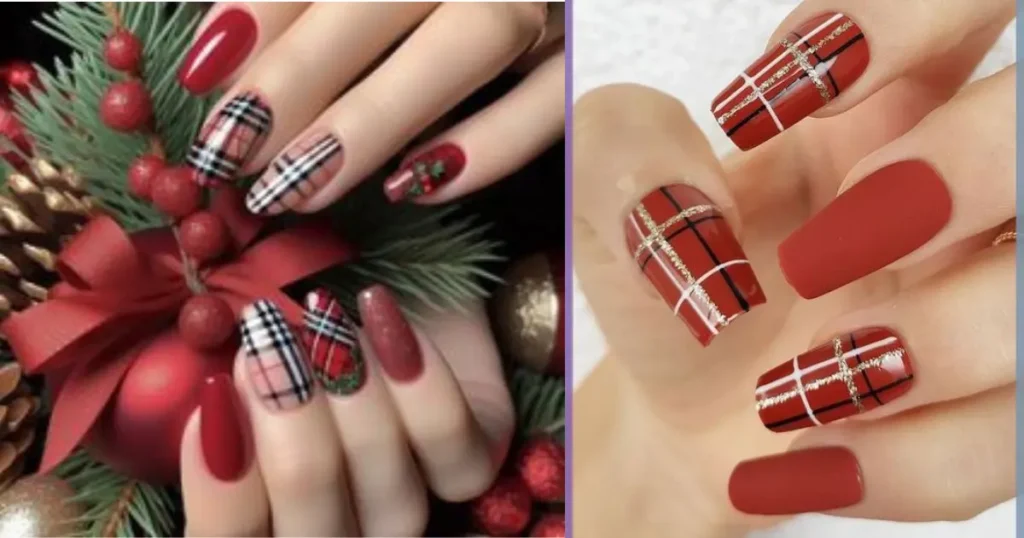
Plaid is typical for Christmas sweater designs and is highly connected with the raised Christmas mood. To replicate the design on your nails, follow these steps:
- Fill the nail with a red color as a base.
- Use a thin brush or a nail art tape to make the typical plaid design with a white color or white and some green or golden accents.
- When done, apply a top coat to protect the plaid design and make it last longer.
Santa Claus Inspired Nails
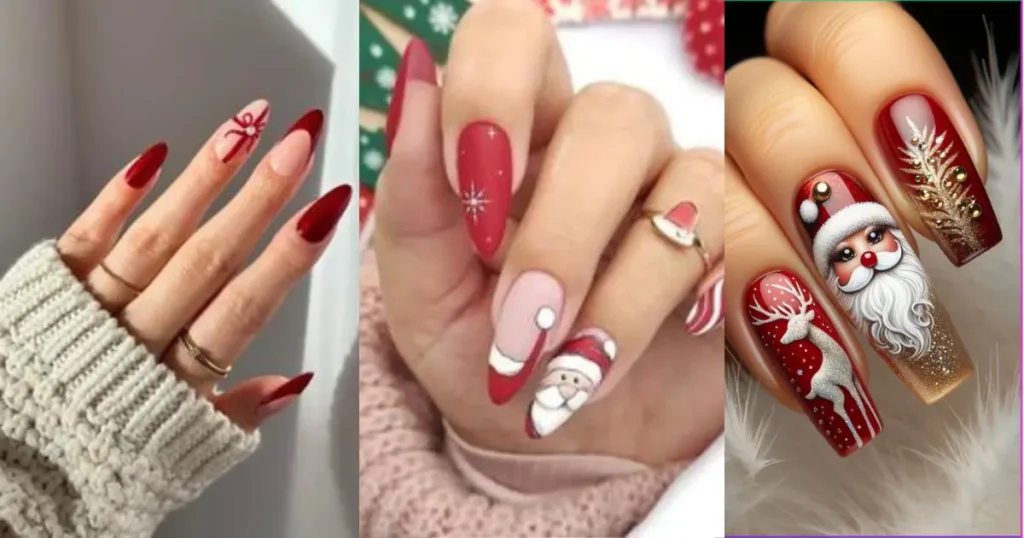
- What can be more Christmasy than a design inspired by Santa himself? Use these steps:
- Take a quite classic red nail polish to paint your nails.
- Add a white color in half of your nail to depict Santa’s fur, and a black color to depict a belt buckle if it is present on the design.
- Finish with a clear top coat.
Red and White Ombre
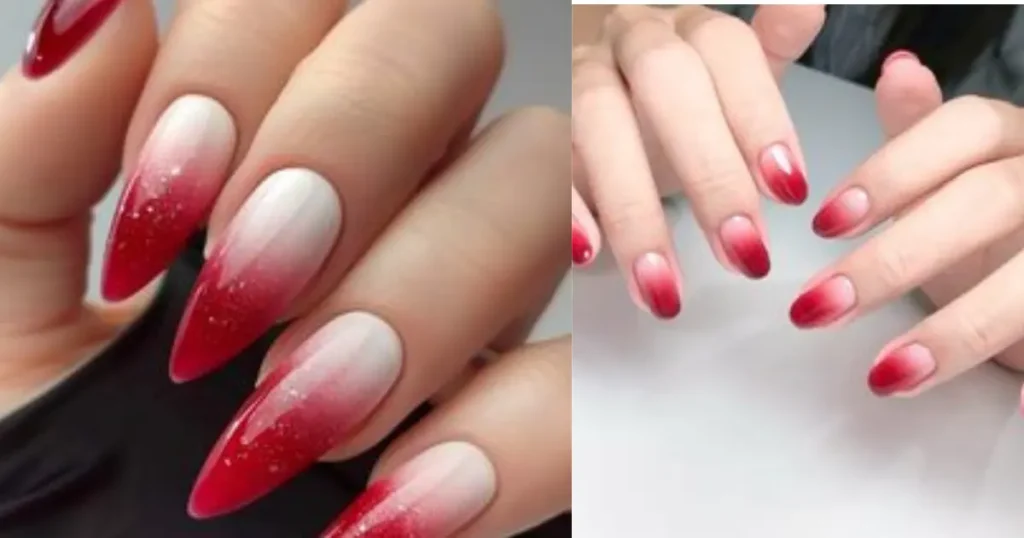
If you are not a fan of bright and colorful outfits, an ombre effect is a nice solution for you. To have this design on your nails:
- Apply a white base coat.
- Use a makeup sponge with some red nail polish and tap it onto your nail tips. Blend the two colors if you want to create a nice ombre twofold nice effect.
Finish your design with a top coat.

Use Quality Polishes
High-quality polishes will give a better finish and last longer in comparison to budget ones.
Be Patient
Make sure every layer of polish is dry before applying the next one. Otherwise, the previous layer will be smudged, and your masterpiece doesn’t look as polished.
Practice Precision
If you want your lines to look neat and designs to be intricate, use nail art brushes, dotting tools, striping tape, etc.
Finish with Top Coat
Apart from the shiny finish, the topcoat makes your design last longer, protecting it from fading and chipping.
Red And White Christmas Nails FAQ’S
1. How to make my red and white Christmas nails last longer?
- Apply a quality base coat before applying the polish.
- Apply a topcoat over your design. It makes your nails even more durable and helps to seal your design.
- Try not to wash dishes, clean, or do anything that can expose your nails to water and chemicals. Use gloves if you have to do such things.
- Reapply the top coat every 3-4 days to make the design look even fresher and be protected from chipping.
2. Can I use gel polish?
Yes, it will make the color even more vibrant and last longer. The design steps will remain the same; however, you have to cure every coat under a UV or LED lamp following the manufacturer’s instructions.
3. How can I get rid of the red staining of my nails?
- Always use the base coats.
- Soak a cotton pad in nail polish remover and hold it onto your nail straightly for some seconds. Gently wipe it off.
- If your nails still appear stained, try soaking them in the mixture of baking soda and lemon juice. It will help to brighten the nails and to remove the staining.
4. What can I add to my red and white Christmas nails?
Green to make it traditional. Gold or silver to make it even sparklier.
5.How can I make my red and white nails more festive?
Adding glitter to your design is a great way to make your red and white nails more festive and eye-catching. You can apply it to selected parts of the design, for example, to the tips, to create a lovely ombre effect. If you need the nails for a Christmas party, we recommend using chunky or iridescent glitter for the maximum impact. You can either apply it over the wet polish or soak the nails in alcohol and press the glitter on top. To create a glitter effect, you can even add the glitter to a wet polish brush and work it over the tips. Additionally, think about combining red and white with other festive themes-take a look at our snowflake or holly designs and see for yourself how stunning your nails can be!
6.How do I make the stripe design neat?
Use striping tape or nail vinyls to make your nail stripes neat and even. Apply the base and let it dry, then place the tape or vinyls and paint the desired color on top. Remove the tape right after applying the color, so it doesn’t dry and smudge. You can also take a striping brush and apply two straight thin lines next to each other.
7.How do you make the designs with nail art?
Consider using thin stripers or nail art pens for making the designs, and do not forget to practice on paper or a nail wheel first. If you want to create patterns, you can use nail art stamping plates. To erase a mistake, wait until the nail polish is dry and then take a brush and some polish remover or acetone. For tip touch-ups or small smudges, you can place a drop of polish remover on a cotton swab and gently work the smudge.
If you have anything else you would like to ask, or if you need more advice on the topic of nail designing, please, let me know. Enjoy your holidays!
Conclusion
Red and white Christmas nails are a timeless choice that captures the essence of the holiday season. Whether you prefer classic candy cane stripes, delicate snowflakes, or a sophisticated ombre effect, these colors offer endless possibilities for creativity and festive flair. By following the tips and designs outlined in this guide, you can achieve beautiful, long-lasting nails that perfectly complement your holiday style. So, embrace the season, experiment with different patterns, and let your red and white nails shine as a joyful celebration of Christmas.

