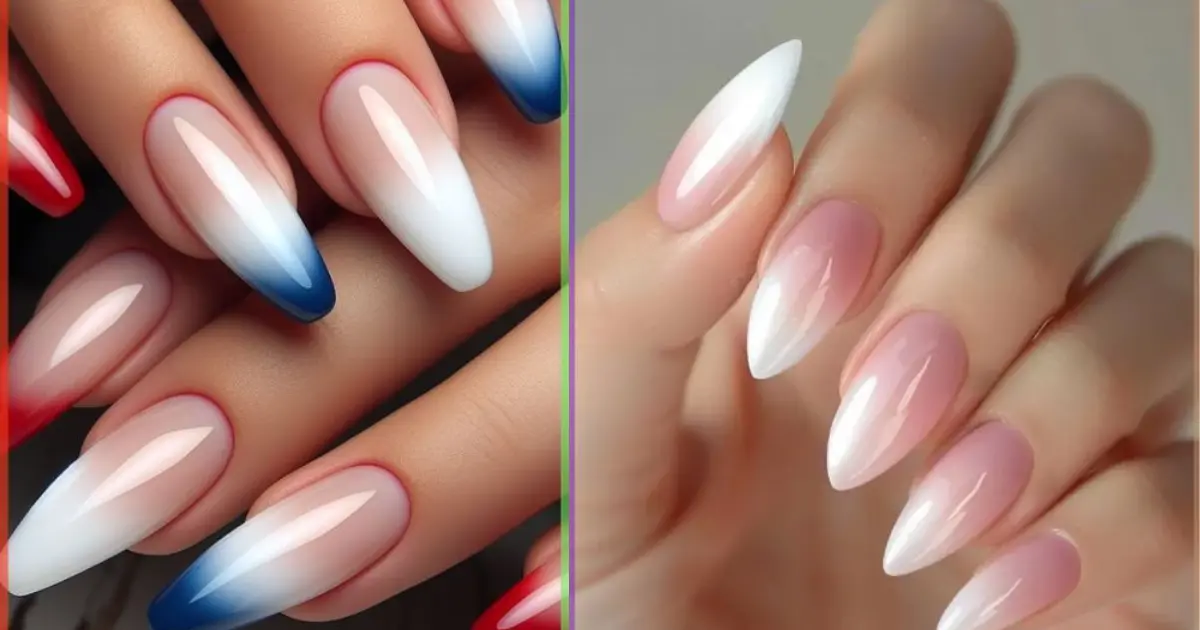
Spring is the season when we can experiment with all sorts of bright colors and fresh looks. What can be more suitable than perfect spring ombre nails? An ombre nail is the one where two, three, or more nail colors are layered. Painting two nails one color and two – with another is not an ombre; the painted nail should have a gradual transition of colors. This guide will cover all things related to spring ombre nails: from peculiarities and favorite color combinations to application, and nail care. Let’s start with the definition.
What Are Ombre Nails?
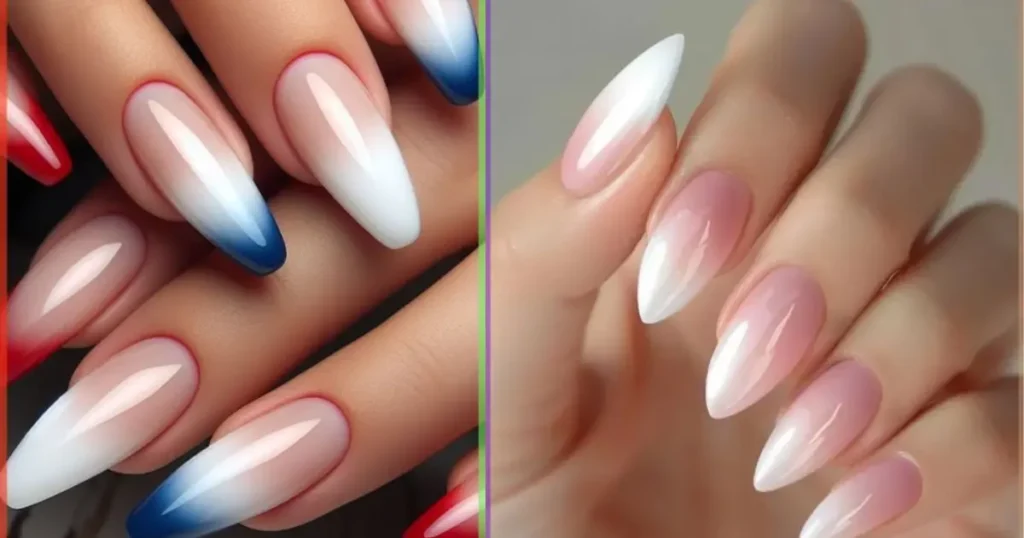
Ombre is a style in nail art and not the type. Ombre nail is a style where one color gradually turns into another one. The word “ombre” is of French origin and can be translated as “shaded”. The resulting gradient looks very beautiful and can be either bright or calm.

Why Choose Ombre Nails for Spring?
Ombre nails are perfect for spring as many pastel shades become highly popular. This makes your nails look fresh and matches with the bright colors that you are wearing. They are soft, gentle, but not boring.

Popular Spring Ombre Nail Colors
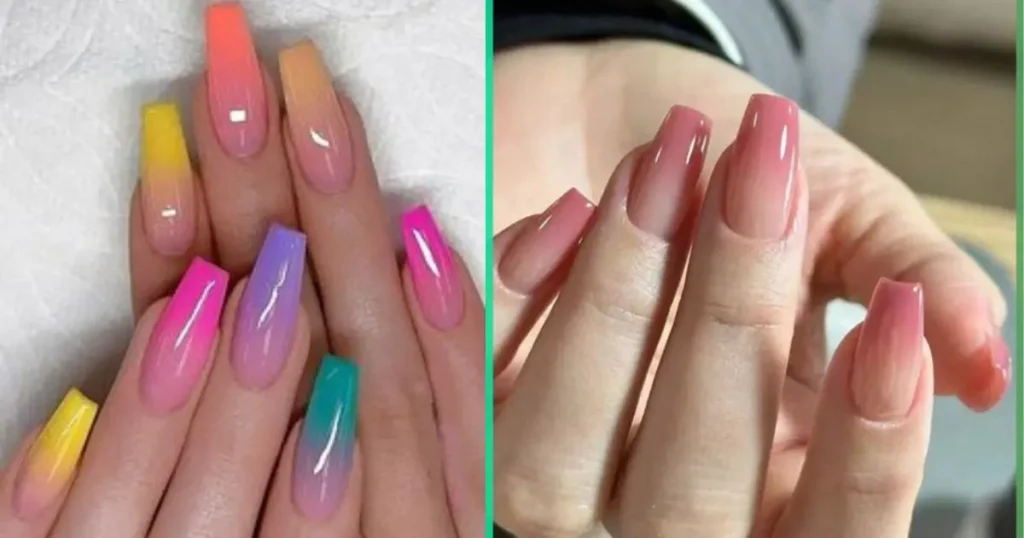
When we think of spring ombres, we think of flowers and nature when spring comes into its force, and it is the best time of the year for everything to bloom. So, the colors of spring ombre nails can be based on pastels, flowers, the sunset, or even lemons. The most popular spring ombre nail colors are:
Pastel perfection.

The ombre includes a range of pale colors, ideal for spring. These may include pale pink, blue, lavender, green, and some others.
Floral fusion.

The ombre is based on the colors of flowers – peach, lilac, mint. These colors are vivid and sensitive at the same time.
Sunset dreams.
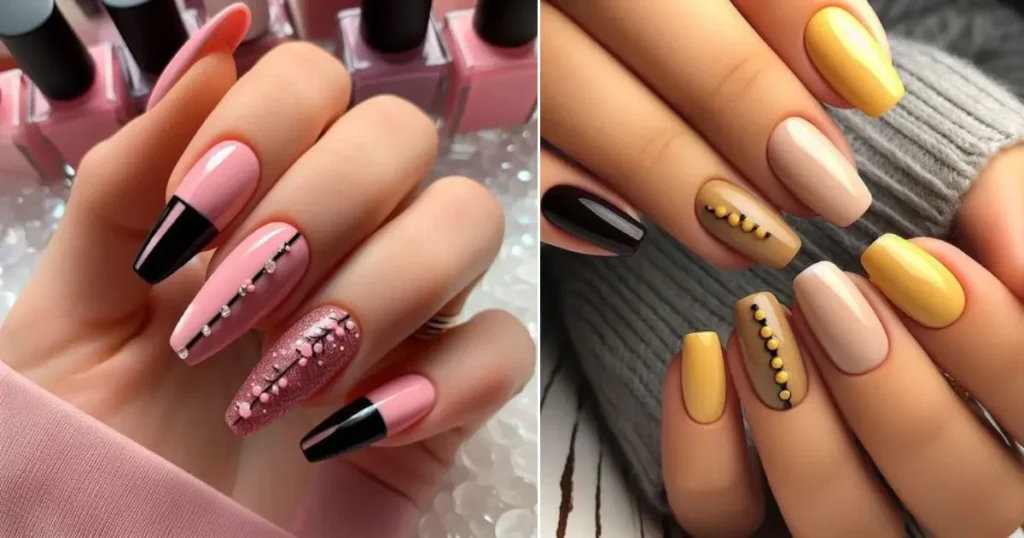
This ombre includes soft orange and pink colors that are gradually blended with yellow ones. This looks like a picture of a sunset.
Tropical twist.
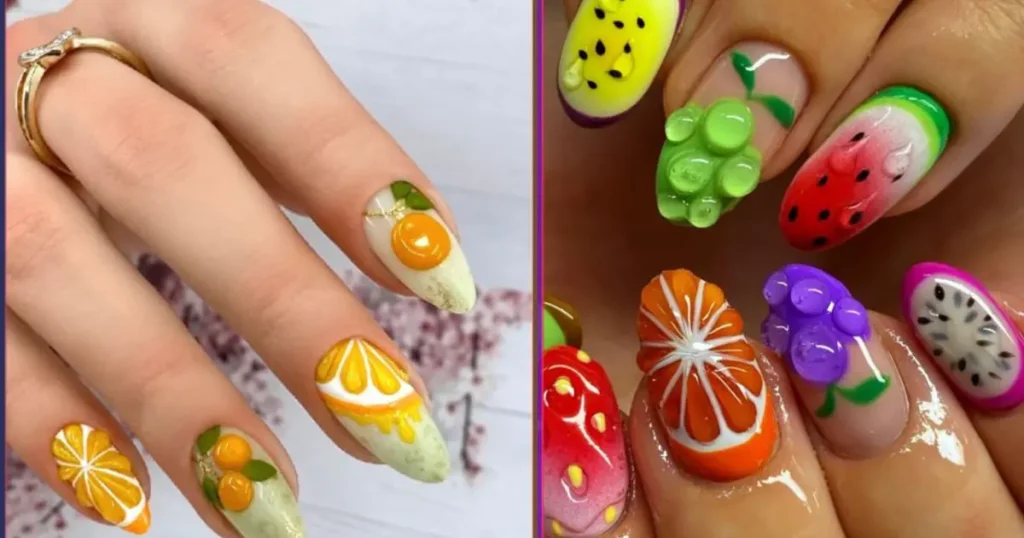
The ombre includes the most vivid and energetic colors, such as turquoise, lime, coral.
All these ombre nail colors describe the charms of spring and can nicely accentuate your spring look.
Neon Nights

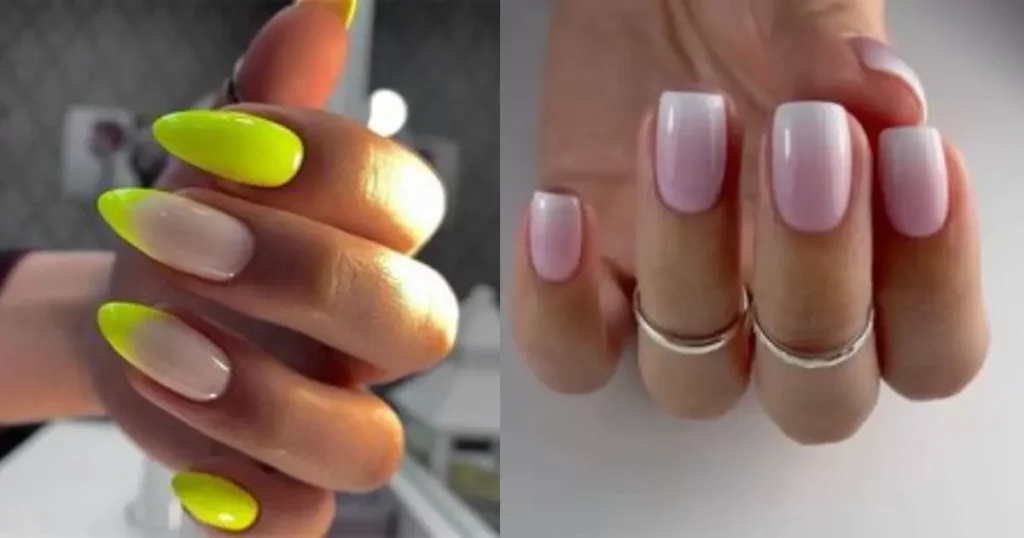
For those who prefer a bit more edge, neon shades of pink, yellow, and green can create a high-impact ombre effect that stands out.
How to do a Spring Ombre Nail
When you get the idea of what an ombre nail is, it can seem pretty simple, but every girl knows that there is a big difference between what we think and what we get. That is why it is better to follow a step-by-step guide we have prepared for you to get perfect nails.
Before starting doing your ombre nails don’t forget to read our review of the best nail polish dryers or use a regular fan.

Prepare Your Nails
- To get started, you should prepare your nails – clean them, remove the old polish, trim, file, and buff.
- Then, you can apply a base coat that will serve as a layer of protection for your nails and as a sticky substance that will help nail polish to last longer.
Choose your color
Choose two or more colors that blend in order to achieve an ombre effect. For the spring, it is better to choose pastel or light floral shades.
Base Color
Paint your nails with a base color that will actually be the light one or the lightest color you have chosen for a gradient.

Ombre Effect
- You can use a sponge applicator or a nail brush to achieve the ombre effect.
- How to use a sponge:
- Apply a few drops of each of your colored polish onto a small piece of a makeup sponge. You can make just a drop of a few colors and make the same color transition along the side of a sponge, but do not forget to leave the white space. This will help you get a subtle gradient.
- Let a sponge soak in the polish trying to touch a little part of your nail starting just after its tip and moving to the back. Make a roll with a sponge close to the nail, moved down the back, and make a roll back. If it seems too abrupt, you can soak a sponge with a polish again trying to repeat the movement along your nail.

5. Seal with Top Coat
Once you’re happy with the ombre effect, apply a top coat to seal it and add some shine. The top coat will also help to even out some texture leftover from the sponge or a brush.
6. Clean Up
Use a nail brush and some acetone or nail polish remover to remove any remaining nail polish around your nail. This will give it a clean and fresh look.
How to Make Your Ombre Manicure Last Longer
- Invest in Quality Products: Better quality nail polishes and tools will blend well and last longer. Cheaper products might not work as well.
- Don’t Rush: Allow each layer of the polish to dry completely before applying the next one. This prevents any smudges and makes the gradient even.
- Experiment: Try different sponges or brushes to find out what works best for you. You can even try the “dragging” technique with a small brush.
- Keep Your Nails Healthy: Moisturize your cuticles and nails regularly to keep them in top shape.
Spring Nails Ombre Q&As
1. Can you create ombre nails without a sponge?
Yes, the sponge and nail brushes are a popular tool, but you could also use a nail brush for ombre nails. Additionally, try using the “dragging” technique or a smaller brush if you don’t have a sponge. Just make sure to blend the colors well.
1. What are the best color combinations for spring ombre nails?
For spring, pastel shades are very popular. Consider combinations like soft pink with lavender, mint green with pale yellow, or peach with baby blue. These colors reflect the freshness and vibrancy of the season.
2. How can I create a smooth gradient for my spring ombre nails at home?
To create a smooth gradient, use a makeup sponge to blend your chosen colors. Apply the polish to the sponge, then dab it onto your nails, starting from the tip and moving toward the base. This technique helps achieve a seamless transition between colors.
3. Can I achieve spring ombre nails with gel polish?
Yes, you can create spring ombre nails with gel polish. The process is similar to using regular polish, but each layer needs to be cured under a UV or LED lamp. Gel polish tends to last longer and offers a high-gloss finish.
4. How can I make my spring ombre nails last longer?
To extend the life of your spring ombre nails, use a high-quality base coat and top coat. Reapply the top coat every 2-3 days to maintain shine and prevent chipping. Additionally, avoid using your nails as tools and keep them moisturized with cuticle oil.
5. Are spring ombre nails suitable for short nails?
Yes, spring ombre nails can look stunning on short nails. Opt for a more subtle gradient with lighter colors to make your nails appear longer and more elegant. The ombre effect works well on all nail lengths.
In conclusion, spring ombre nails are a perfect choice to epitomize the season’s spirit by showcasing fresh and vibrant colors. Whether you prefer pastel shades and floral tones or bold neons, the ombre technique is the best way to show it. By following the provided tips and implementing the suggested techniques, you will be able to apply a stunning ombre technique to your nails. Remember that a perfect spring ombre nails are created with color mixes, the choice of which depends entirely on your personal color preferences and the approach that works best for you. Massage your artistry and find your perfect spring ombre style!
6. What are some alternative to other ombre nails for spring?
If you are looking for a novel version of a spring ombre nail, you may consider adding glitter to the gradient. For this purpose, you should apply your color transitioning base on your nails and proceed by adding a few pieces of very fine polymeric glitter to each of the colors. Alternatively, you may choose a metallic finish, which is another way to implement a new approach into a cliché design. Finally, you may consider adding a floral motif or a pastel colored geometric analogy to the ombre gradient.
Conclusion
In conclusion, spring ombre nails are a fantastic way to celebrate the season’s fresh and vibrant vibe. With a wide range of colors and styles—from pastel shades and floral tones to bold neons—ombre nails offer endless possibilities to showcase your creativity. By understanding the basics of creating an ombre effect, choosing quality products, and following proper application techniques, you can achieve a stunning, long-lasting manicure that perfectly complements your spring look. Whether you prefer a soft, subtle gradient or a more dramatic design, the ombre technique provides a versatile and stylish option for any nail length and personal taste. Embrace the spirit of spring and experiment with different ombre styles to find your perfect look!

