Introduction
Taking full advantage of all the colors and sunshine that summer has to offer, summer also brings more fun and vivid shades into nail art, at least for us. Summer nails are a must-polished look to amp up your overall appearance while you are on that beach, party or glowing under those golden sun beads. In this complete guide we will look at different Summer nails ideas, trends and techniques to create the perfect look! We’ll also answer some common questions you might have so you can get that perfect summer mani.
What We Actually Mean When We Talk About Summer Nail Trends
1.1. Vibrant Colors
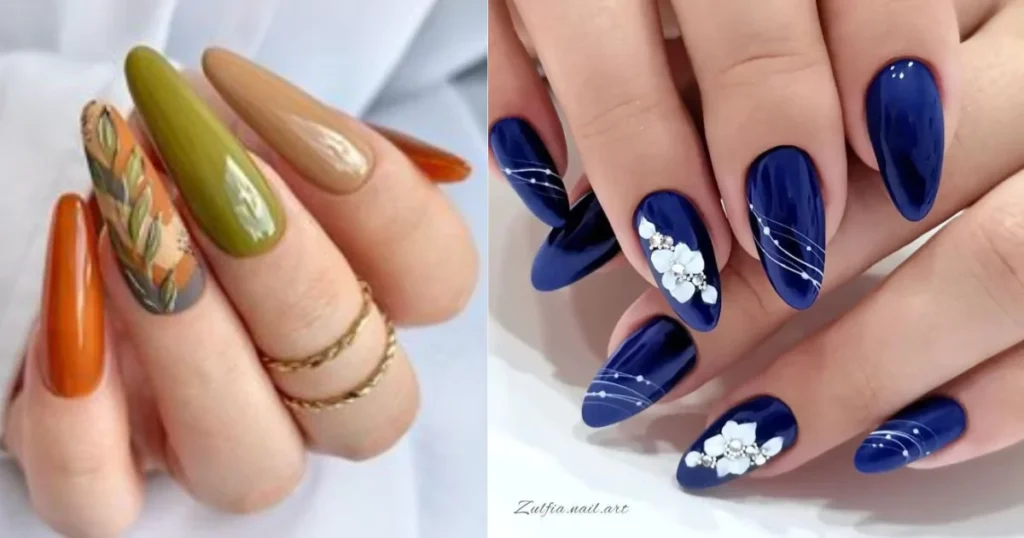
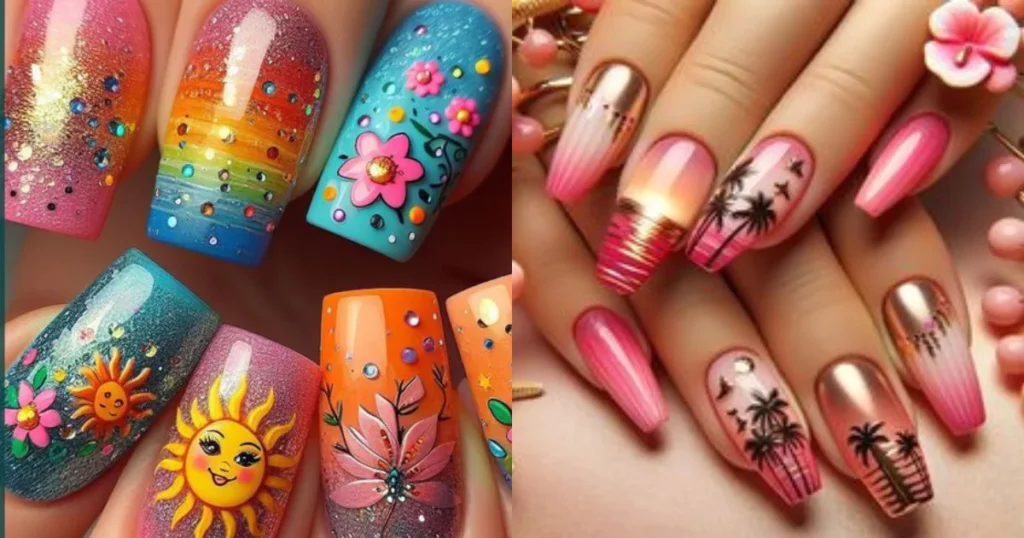
Summer is a season where bright and bold colors rule. Consider colors such as coral, turquoise, lemon yellow, and hot pink. Not only do these colors depict the energy of the season, but also pair beautifully well with summer outfits. Color trends to know more about are:
Neon Nails:
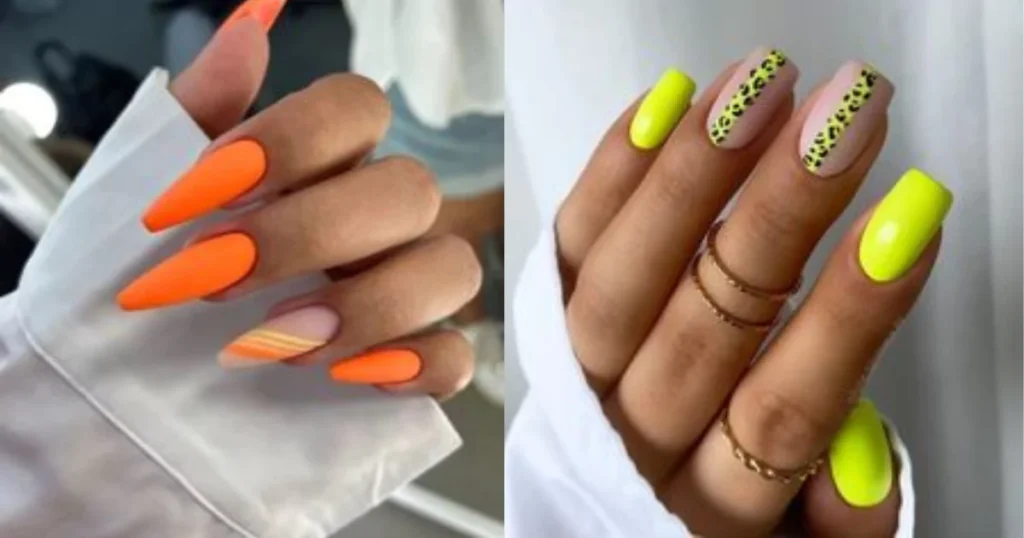
When we talk about summer must haves, Neon nails come first in the list. These make a statement, also appropriate for a beach party or night out.
Pastels:
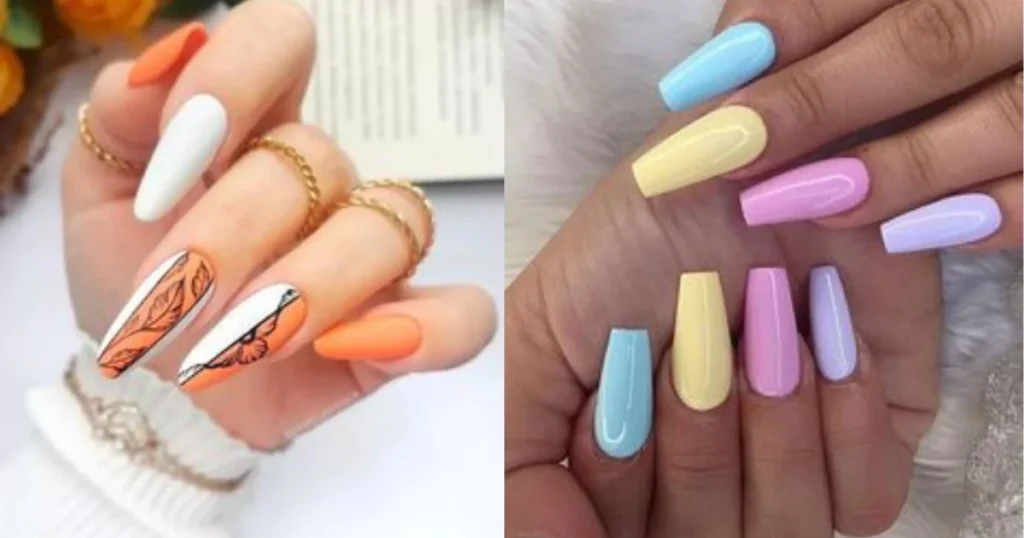
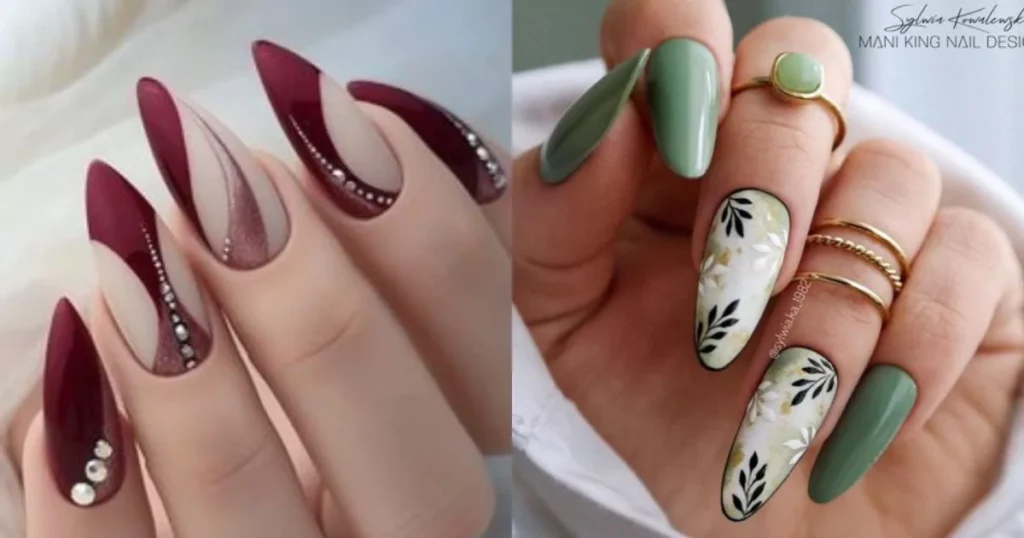
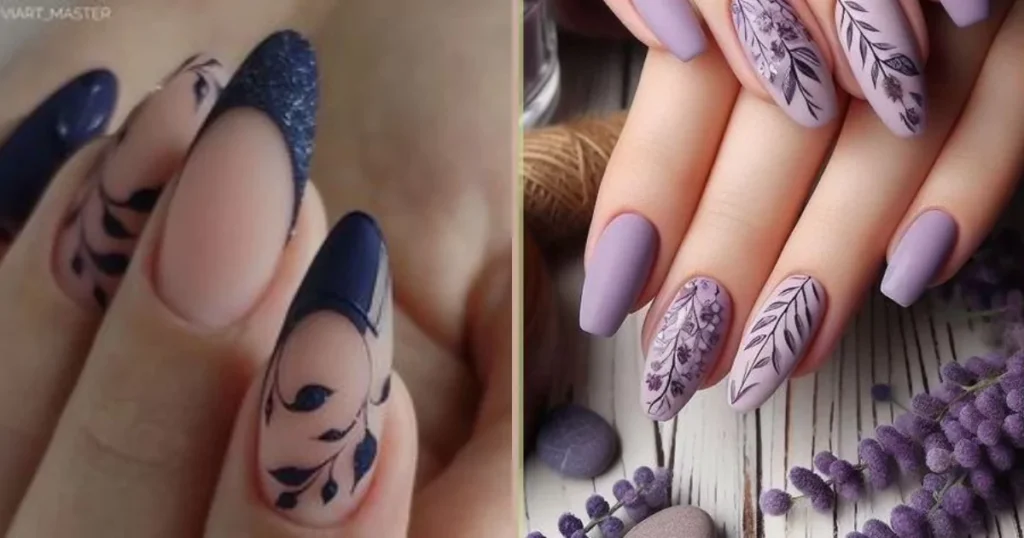
Soft pastel colors such as mint green, lavender, and peach are perfect for giving the hot summer months a more subtle look while still remaining refreshing and fun.
1.2. Seasonal Themes
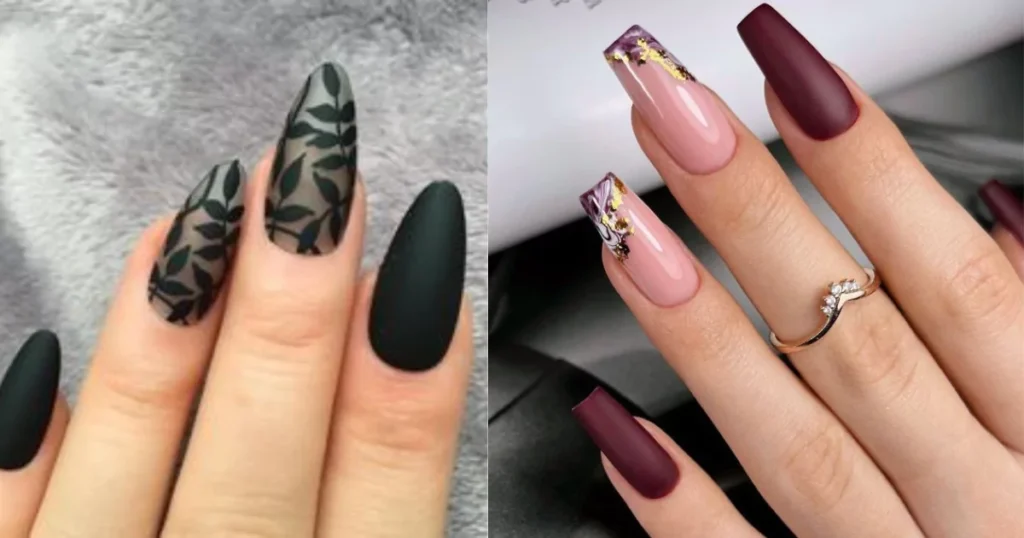
Then there are those nail art that really evokes a summer atmosphere. You might use some of the following themes:
Tropical Designs:
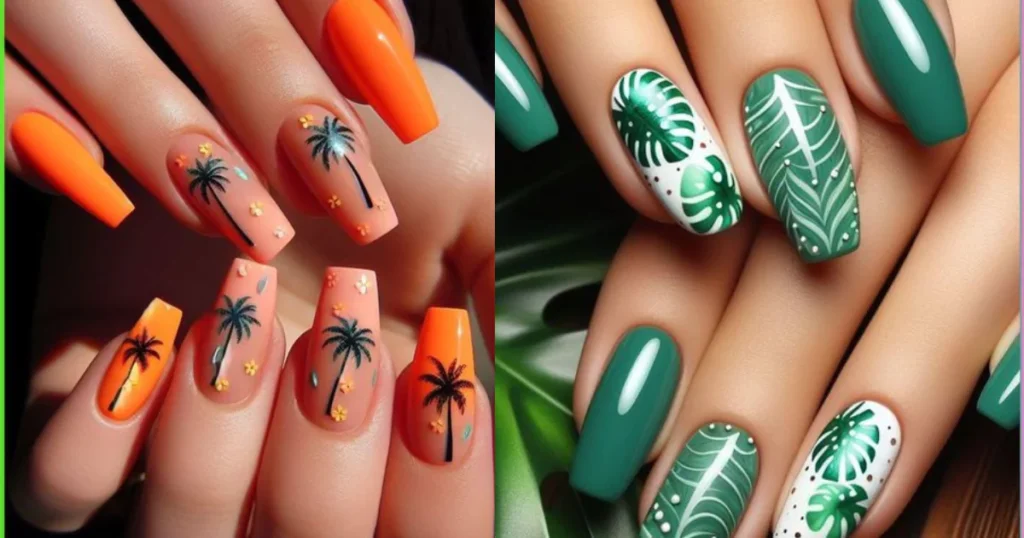
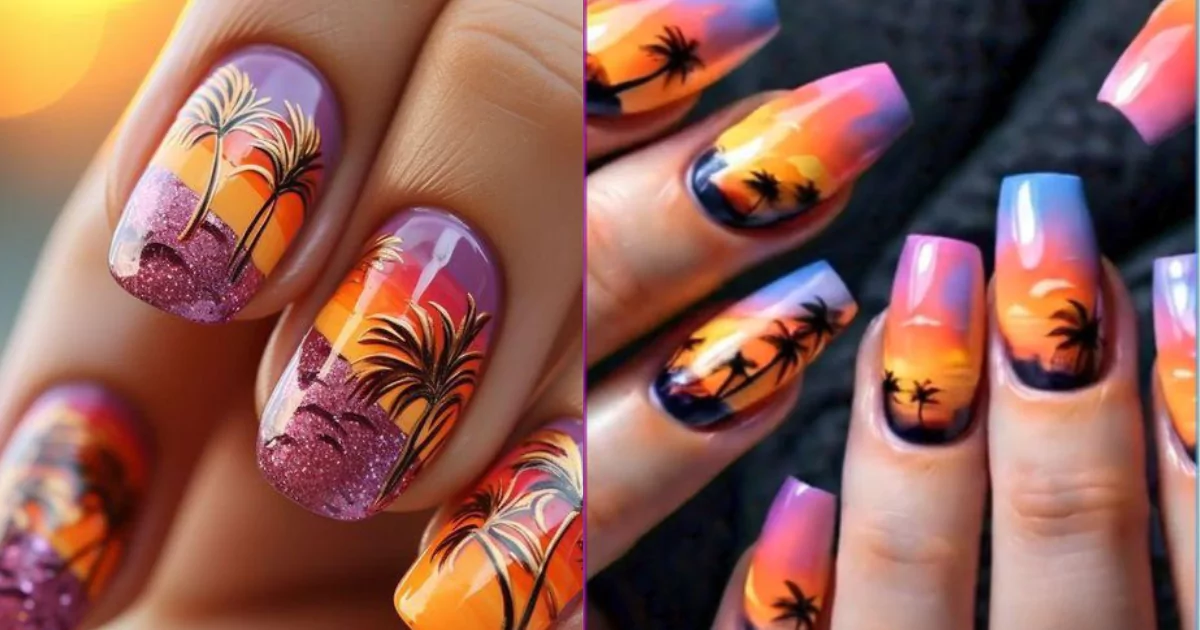
Showcase palm trees, pineapples, and other exotic flowers to your nails to add the tropical vibe.
Beach Theme:
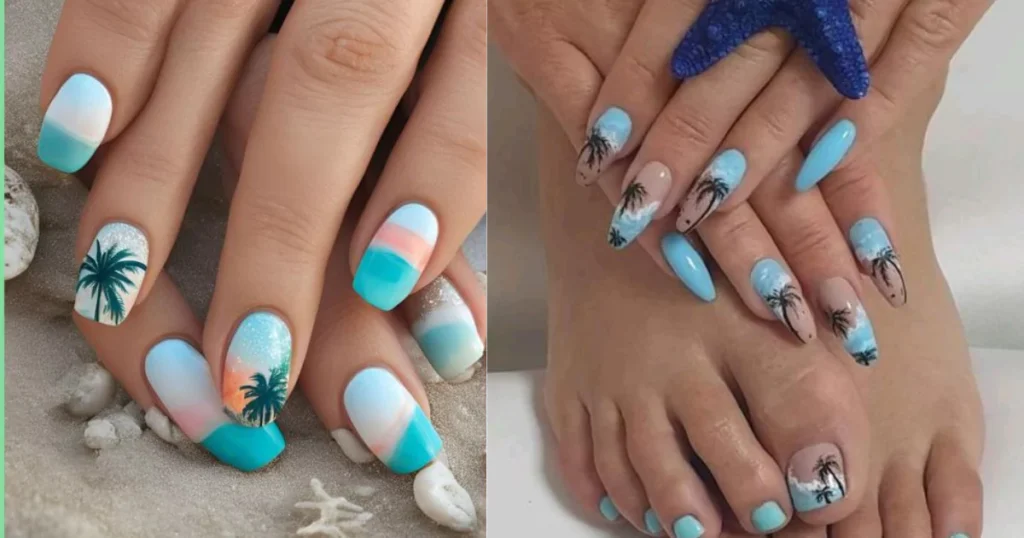
Cool colors like blue and green and designs with wave patterns or shells.
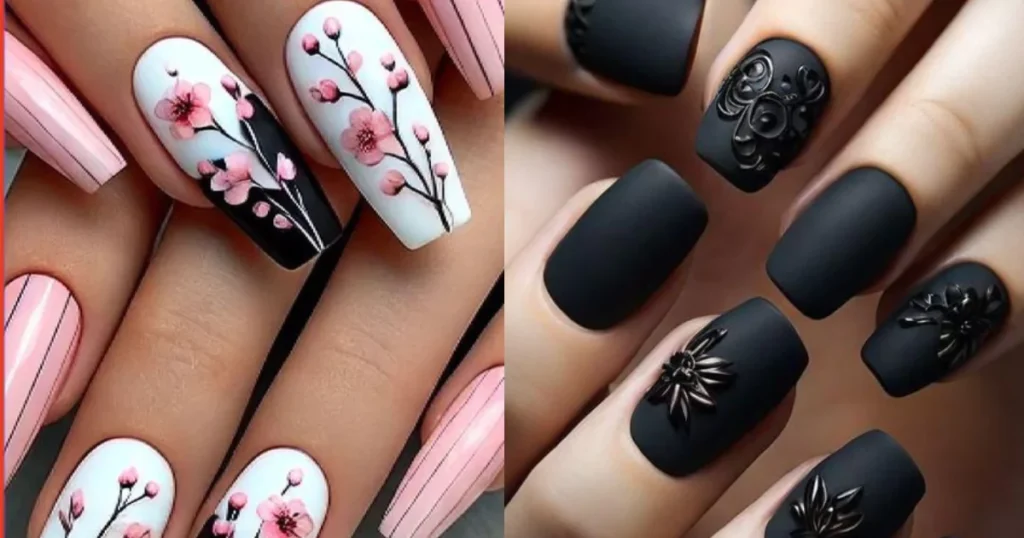
Floral Prints:
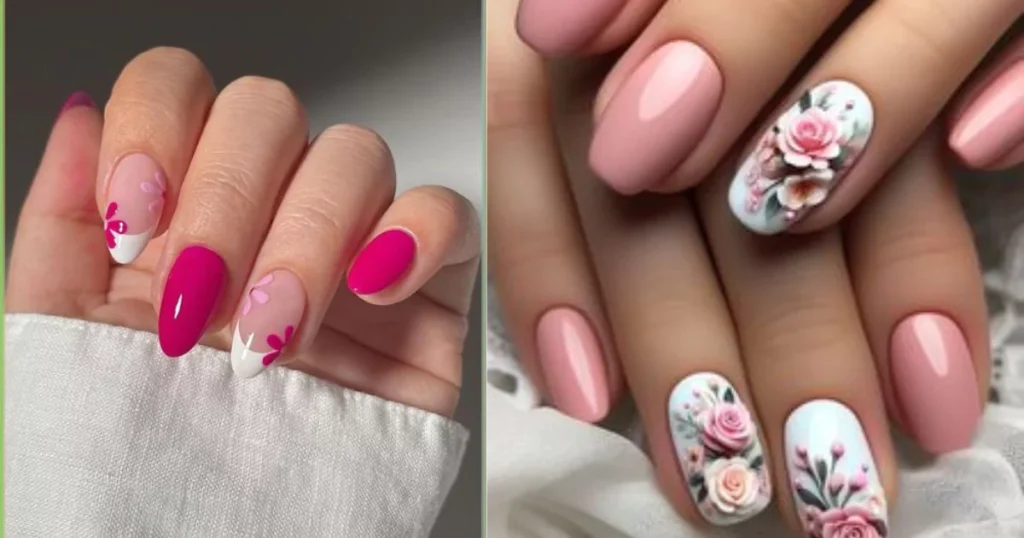
Nothing says summer like flowers. Choose For artistic and wild flower designs patterns or tender tiny flowers designs for a playful look.
Summer Nail Art Tips and Tricks
2.1. Ombre Nail Art
Finally, ombre nails, a beautiful summer pick. It works by merging two or more colours with one another. This is how to get your ombre:
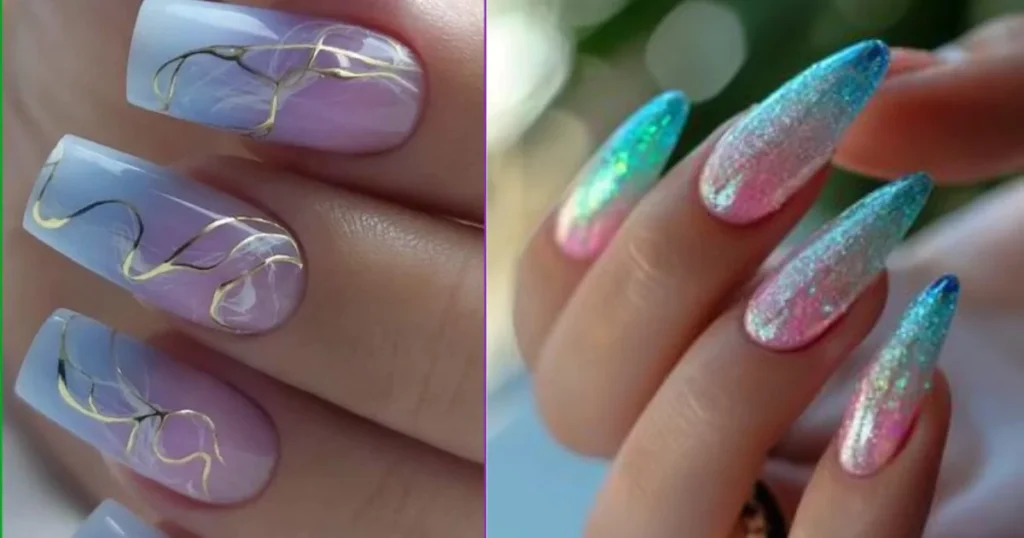
- Step 1: Pick Your Colors — Two or three colors should go together.
- Use a Base Coat: Always begin the nail design process with a base coat to protect your nails.
- Sponge Method: Use a makeup sponge with sponge and apply shades from lightest to darkest.
- Pat: Dab the sponge on your nail until you create a seamless fade. Seal with a top coat.
2.2. Nail Stamping
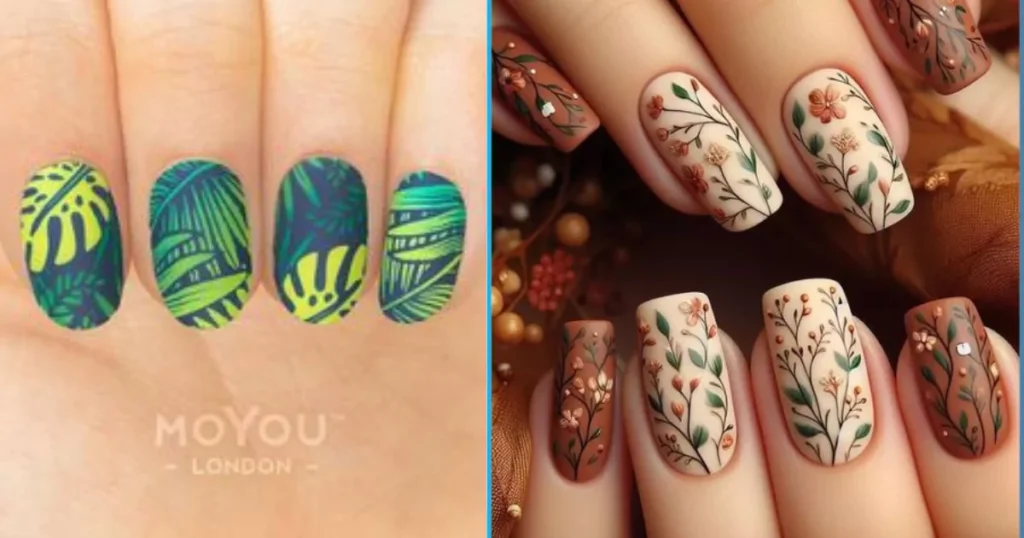
Nail stamping is a fun and creative technique of applying intricate designs to your nails. You can achieve lots of different patterns with stamping plates.
- Gather Your Tools: You will need the stamping kit (plates, scraper, and stamper)
- Select A Design: Pick an image from the plate
- Apply the Nail Polish — This step is simply applying the design of your choice on the plate followed by a scraping of the excess nail polish.
- Stamp: Press the stamper against the plate, and then nail. Seal with a top coat.
2.3. Nail Art Brush and Dotting Tool
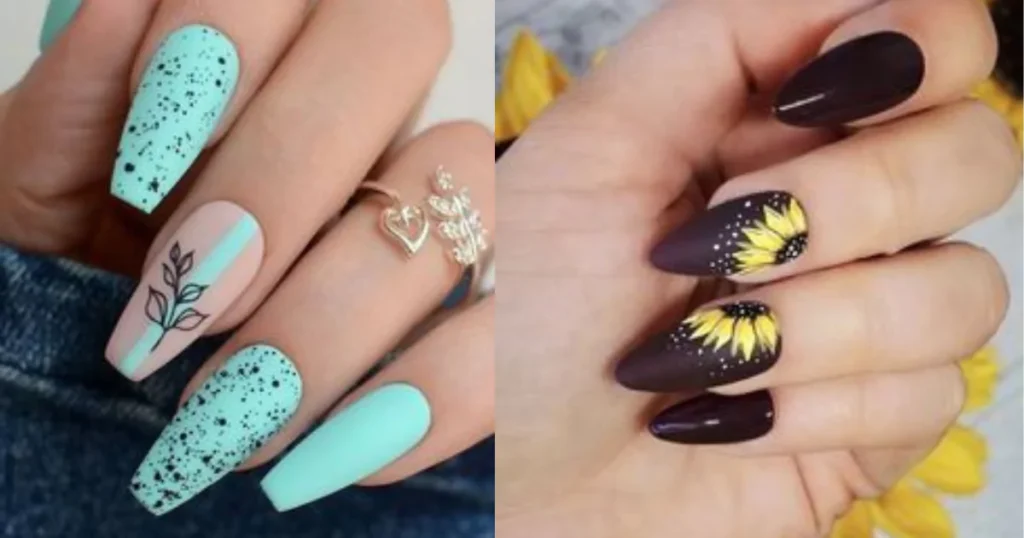
For more intricate designs such as stripes, dots, or even more elaborate designs, you have to invest in a good set of nail art brushes and dotting tools.
- Gather the Right Equipment: Set of detailed brushes and dotting tools
- Paint Designs: Paint stripes, flowers, or any design you like with brushes. Spam Comment As you may have guessed, dotting tools help to make polka dots or floral details.
- Protect your art: Always seal over or top your designs.
Summer Nail Design Ideas
Here are some ideas for fun summer nail art:
3.1. Tropical Paradise
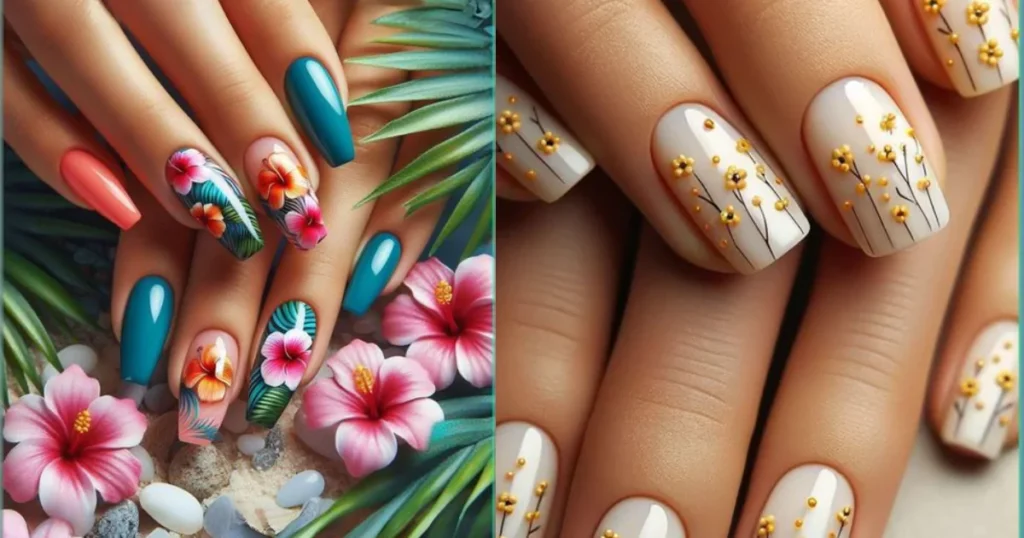
- Step 1: Base Color – Paint on a bright yellow or coral base coat.
- Method: With a nail art brush, paint on some palm trees or tropical flowers on 1-2 accent nails.
- TOP COAT: Apply a clear top coat for sheen.
3.2. Ocean Waves
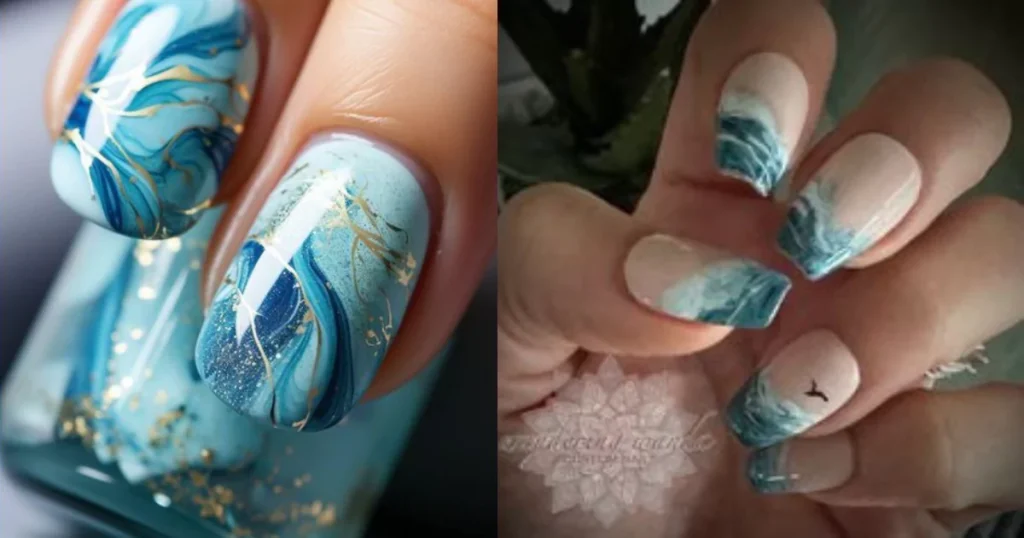
- Base colour: Light blue or turquoise.
- Instructions:Using your nail art brush create wave prints with a deep blue or white polish. If going for precision, use a nail art brush.
- Nail Art: To wrap things up, draw little seashell or starfish nail charms for a three-dimensional look.
3.3. Floral Delight
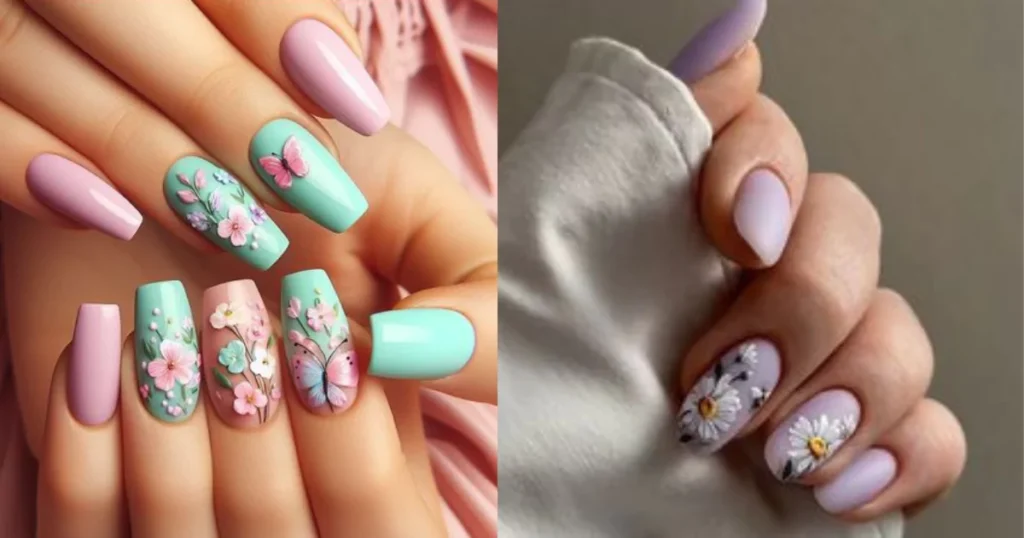
- Base Color: While your base can be a soft pink or lavender (we love the Lavender/Platinum color Below),
- Method: Make tiny flowers with a dotting tool. Mix the color for the petals and center
- Seal: Top coat and some glitter for shine if desired.
3.4. Sunset Gradient
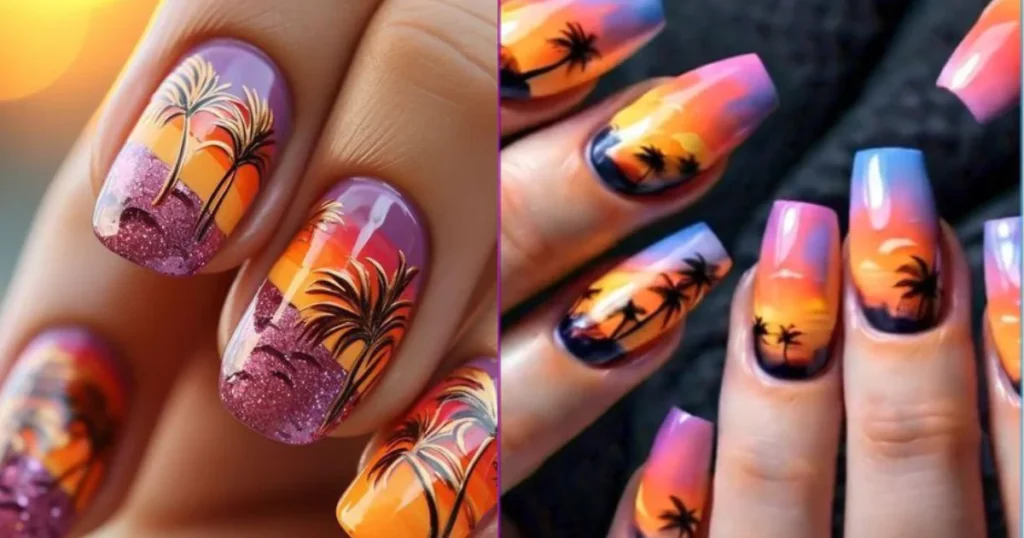
- Bottom Colours: For a sunset look, orange pink and yellow
- Method: Use from the ground up to the under part of the nail an ombre impact moving to the tip of the nail. Blend the colors well.
Palm trees silhouetted in black polish or birds flying overhead can be layered atop an even coat of polish on one or two accent nails.
Tips for Perfect Summer Nails
4.1. Nail Preparation
The first step to nail art is to prepare the nails:
Nail Preparation:
Begin with a clean nail. Step 1: File And Shape Your Nails How You Would Like Them
Cuticle Natural:
You should gently push back or trim cuticles Now apply cuticle oil to some healthy nails.
A base coat:
Apply a base coat so that your nails do not stain and your nail art lasts longer.
4.2. Choosing the Right Products
You Need To Use Good Quality Nail Products For That, Here are some of the best new age nail products:
Professional Quality Nail Polishes:
Stick to products that dry quickly and are chip resistant.
Top Coats:
To finish shine and protect your designs use a top coat.
Precision Tools:
Quality brushes, dotting tools, and stamping kits.
4.3. Nail Care Post-Art
Taking care of your nails post artwork is another important part:
Hydrate:
The key to minimizing breakage is hydration, so apply cuticle oil every single day.
Keep away from harsh chemicals:
Harsh chemicals or prolonged exposure to water can be harmful to the nails.
Touch Up:
If you see some chips, feel free to slap on a quick touchup before its appearance too much.

FAQs About Summer Nail Art
How long does summer nail art last?
A: It varies depending on products, your nail care routine, and how much you use your hands. A properly done manicure will last a week or even two before chipping off so yeah, not bad.
Q2: Can I do nail art at home?
A: Absolutely! The best thing is, various nail art techniques can be performed at home with the proper tools and practice. Begin with simple patterns, and once you’re comfortable, attempt more advanced methods.
Q3: Which summer nail colors are the best?
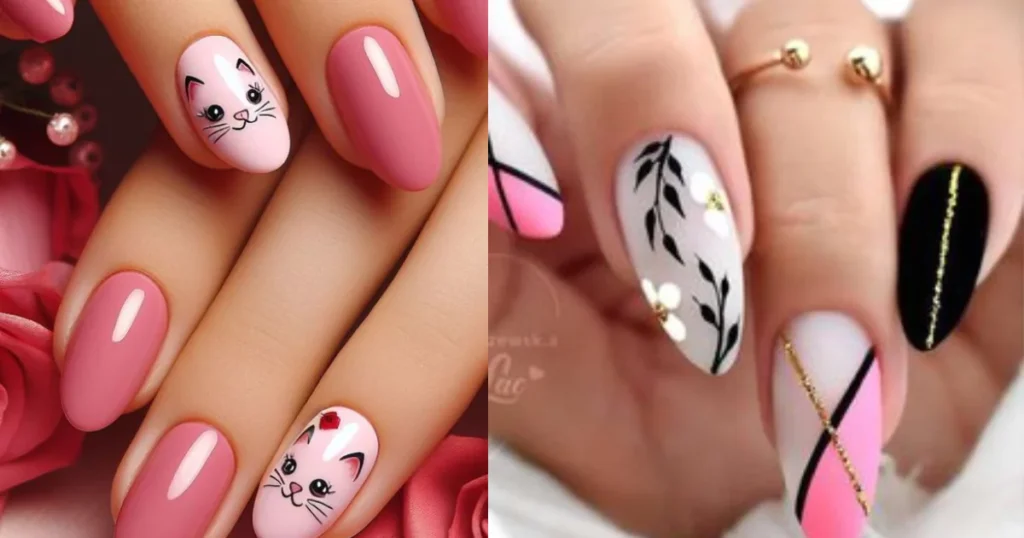
A: Summer is all about colorful palettes — think coral, turquoise, neon shades, and pastel hues. Select colours that go with your skin tone and personal style.
Q4: Do I have to use acetone to remove nail art?
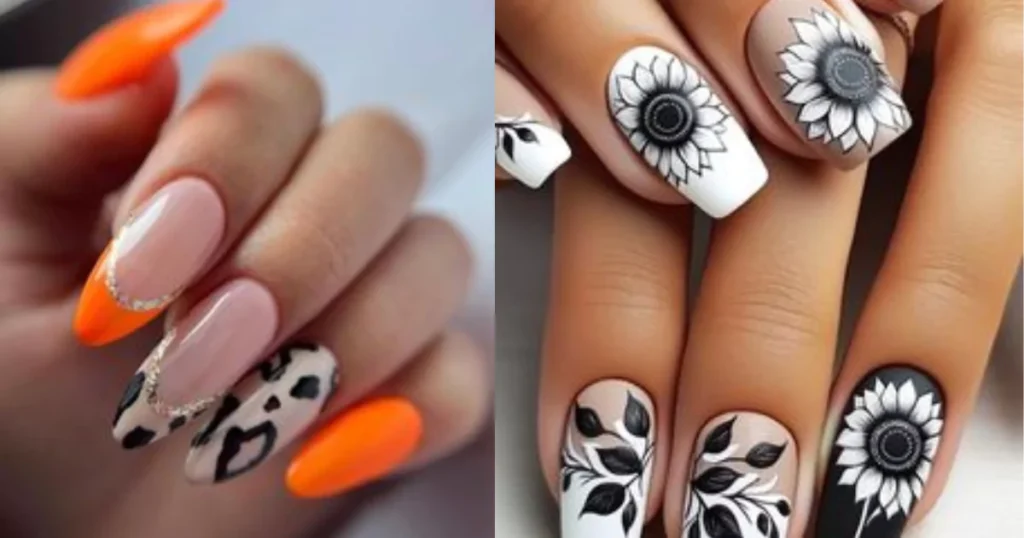
A: Gentle nail polish remover without acetone You soak a pad of cotton with the remover and place it on your nail, wait for a minute and just wipe it off.
Q5: Can nail art be done on natural nails?
A: Yes, as long as you maintain your nails well and employ quality products, you can safely perform nail art on natural nails. I recommend using a base coat in order to avoid staining your nails.
Q6: How often should I change my summer nail art?
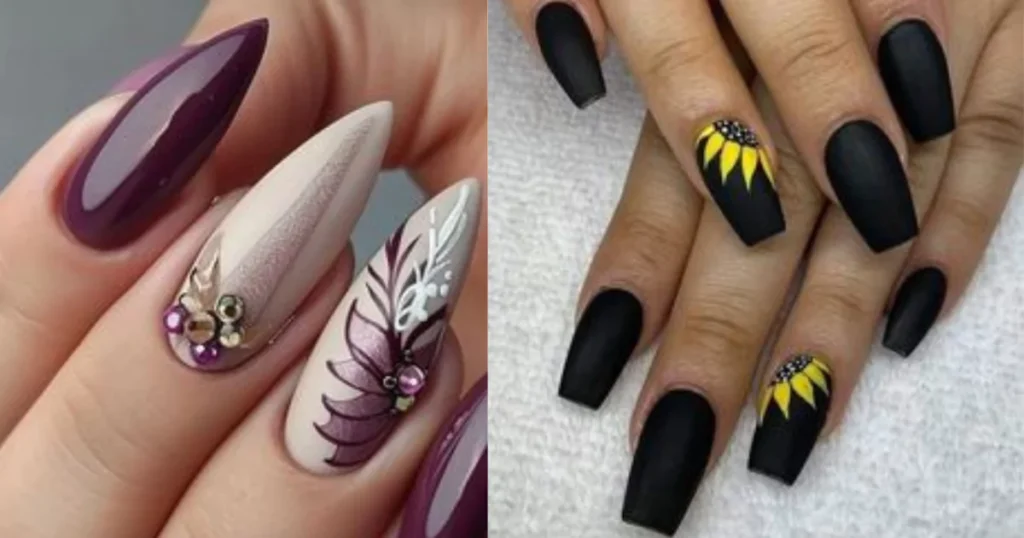
A: It is subjective, but I would say four weeks is ideal depending on your nail growth rate or if you are prone to chipping your polish or not. A wide range of nail art enthusiasts that change their polish every week or two to coordinate with outfits or special events during the summer.
Q7: Any tips for taking care of nails over the summer months?
A: Make sure to nourish your nails with cuticle oil, avoid too much sun exposure in order to not leave your nails looking faded, and if you are outside a lot, put a little bit of sunscreen on your hands.
Conclusion
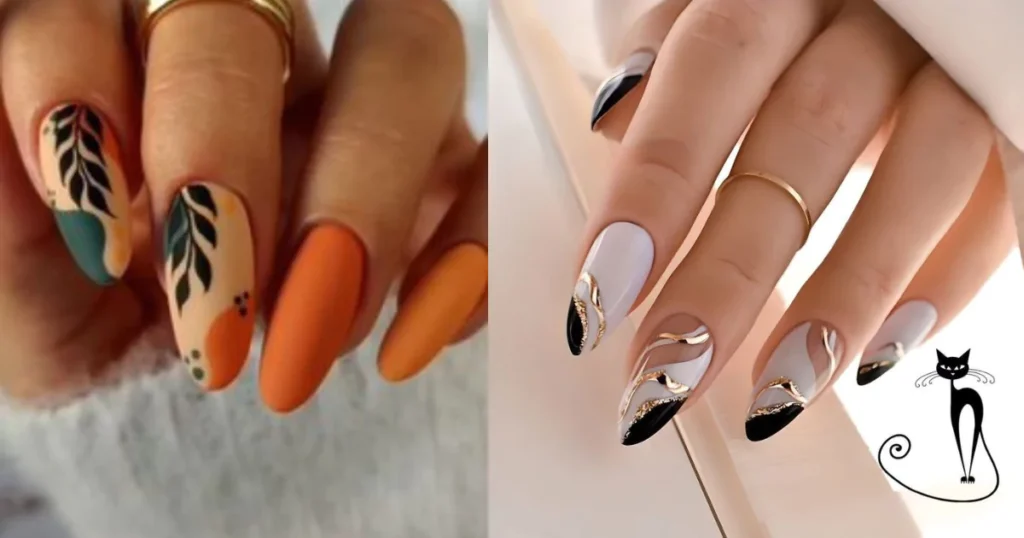
Nail art is one thing that you can truly spend some time on during the summer months. They use an array of colorful polishes with exciting designs and playful techniques, to help you enhance your fashion and express your unique self. Take care of those nails and have fun playing with a never-ending variety of looks. Even if you go bold tropical or light pastel, your summer nails will catch attention. Meet the summer vibes and let your nails sparkle!
Related Articles : Bold Summer Nail Colors for Your Brightest Manicure Ever

